The Wrench is Mightier than the Hoardes
So people keep asking me if I’ve gotten out on the new bike yet. The answer is no because I can’t get a license plate until the DMV opens back up after the covids subside. I asked them if I could just ride without one and they said no. So here I am with the nicest vehicle I’ve ever owned, and we’re not even allowed to get to know each other. This must be what chastity feels like
 So of course that means I did the next best thing – took it apart.
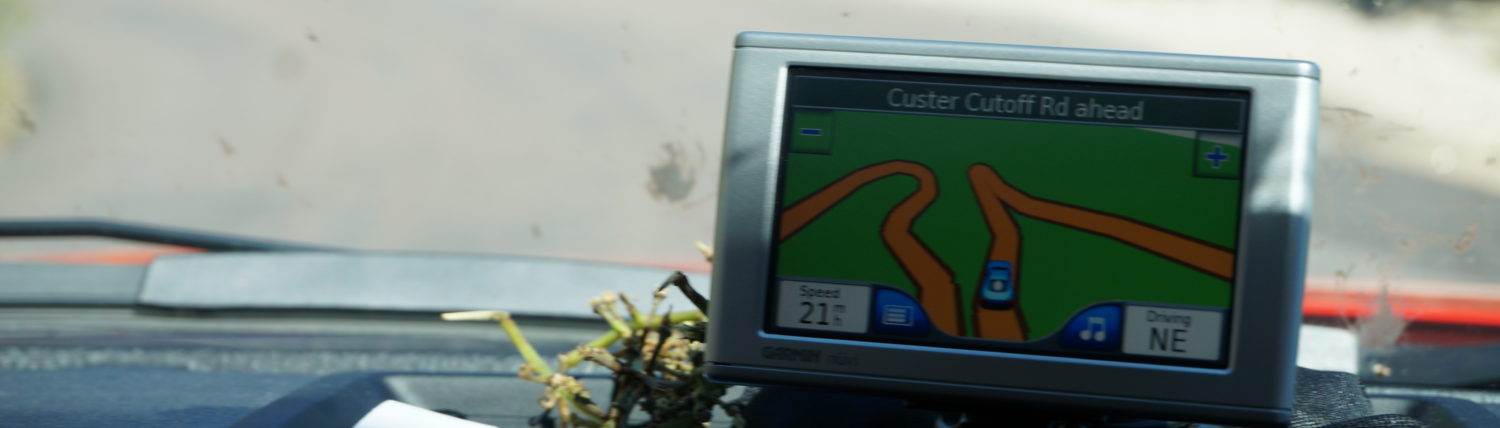
The saga of The Neverrunner (formerly, “The Apocabike”) left me with a ton of farkles with no host. Electrical things, like heated grips, auxiliary lights, waterproof voltmeter, USB charger, charging mount for the Garmin Zumo, lithium ion battery, all just sitting there, doing nothing. “Looking cute, maybe I’ll go collect dust later, IDK.”
I’m not hugely scared of electrics, but they can be confusing and it’s easy to lose a wire you thought you identified, especially in this case. There were just so many wires going everywhere, some through switches, some direct to the devices, some split off the same wires into multiple accessories and some accessories have multiple sets of wires but still needed to break with the same switch. Here’s a shitty hand drawing I did on my phone to help make sense of it all…

Yeah. It was enough to make your head explode but luckily for everything else, the builder of the Neverrunner did an amazing job setting it up. There were, I shit you not, even labels on some of the wires. And usually you’ll tear into something and the electrics will look like a demolition debris, twisted metal sticking out every which angle, there will be dried out electrical tape with exposed blunt wires falling out of it, the highly conductive super glue, duct tape, wire caps like they were installing a ceiling fan under there but with one of the wires broken out the bottom and that wire doesn’t even go anywhere. But this was another story. This was like poetry
The wires were neat
The lines all organized
The task went smoothly
It still took awhile to figure out how it was done but after 3 hours I had everything labeled and removed from the old bike and an hour more had everything mounted on the new bike.

Mounted. Routing the electrics, chasing gremlins, soldering some subversive connections, testing, retesting, all that took… a bit longer, but the initial swap was easy.

I had to mount a fuse bank under some body work so I took some of the fairings off and somehow managed to not lose any fasteners, even managed to figure out how to (eventually) put them back on again. I found a clean line to mount the switches, and if I do say so myself, they look proper!


One of the switches didn’t work so I had to scour the Internet for a replacement that looked as close to the others as possible. I think they blend nicely enough that the slight difference is acceptable.
The auxiliary lights were another story. They were mounted to the Neverrunner by some brackets that were secured at the lower triple tree. I thought the same would work on the new bike but it turned out I had 2 left brackets. The way the new triple tree was secured the configuration was just not as forgiving. So I did some research to see how other people mount auxiliary lights and found there’s a whole mounting bar you can buy from Denali for like $40 bucks!

But I’m an unrepentant cheapskate so I figured with a piece of scrap wood, a drywall screw, a nail, a hand drill, some harbor freight bits, a dremmel, a cheap set of miniature files, and this here piece of rando bar stock I had propping up a plastic dresser in my camp supply closet I can MacGyver something up.

So I took out the OEM front cover as the instructions suggested, found the center of the bar and lined it up with the pilot holes… Now here’s where I did $120 of work and spent 2 days to save $40 – the holes on the bike were not easy to find and there’s no way to get a sharpie in there to index where I need to drill. Usually you take some grease, put it on your fingers or a rag and smash it through the holes to leave a mark while you hold up the bar, but I didn’t have any grease. So I used some sample lipstick I got at Sephora last year – it just wasn’t my color. Made a bright shimmery mess out of my frame but you know what? It worked! I measured out and marked my drill holes, set the bar on the wood and held it with my feet to pierce the first hole, then drove a drywall screw through there and in some random spot a few inches away I drove a nail, figure I’ve got to wedge the bar stock against something to keep it from spinning on me when I get to graduating to larger bits.

I mounted it with some lock nuts and screws I found in my extra fastener bucket, and it looked really good! I hand trimmed the ends with the Dremmel and filed the rough ends and then covered it with a few coats of truck bed liner. (I trimmed the ends *after* mounting because I wasn’t sure just by holding it if I would need to shorten them at all. I did, and it allowed me to properly measure the distance I needed to maintain symmetry)


My compliments to Denali, I probably should have just sprung for the bar.
It’s taken 10 days of working in the garage after work, but with everything locked down I can’t imagine a better way to spend quarantine. I close the door to my bedroom and then go straight to the garage where time evaporates. Next thing I know it’s 11PM and I forgot to make dinner. From the garage I see hoards of people walking in clusters, I guess some people just can’t isolate. For me, it’s a breeze. I forgot how much I absolutely love this stuff. I started wrenching on shit because I couldn’t afford a mechanic, but now I do it because it’s like thinking with my hands and I get to make things better than they were when I started. And I’d say, the way this portion of the set up turned out, I’d say it’s a massive improvement, I’m very hard of my hard work and what I accomplished with it